Showing posts with label baby. Show all posts

Saturday, March 3, 2012

Nap time Curtains

I've already expressed my love for Young House Love so when Sherry posted this update the other day on adding blackout curtains to their daughter's room to increase nap length, I was on it right away!

These are the curtains I made (and hung myself) when I was very pregnant. One of those "I've-got-to-do-something-about-that-window-already" moments when hubby wasn't home.


I like them, even though I'm not a huge fan of this type of curtain rod.  What is that called away?


Cute, simple green dots to do with the yellow and green paint job.

Mini blinds, not the best but they served the purpose until this happened:

Our little girl has destroyed the blinds by peaking through the window from her crib.  I hate how trashy it looks but it's been that way for several months.  This is reason number one for wanting new window treatments.

Ok, enough of that.  

The second reason is nap time seems to be getting shorter and shorter and sometimes doesn't happen at all.  Hubby started hanging a table cloth over the window during nap time to make it darker and thus more nap-friendly.  Not my favorite solution.

So I went off to Joann's for the 50% off Home Decorator Fabric sale.  I bought 2 yards of white black-out fabric and 2.5 yards of this Alexander Henry Kleo Pink cotton:


About $19 and 20 minutes and we now have a dark nap-time ready bedroom! Not completely dark, but much better than before.  AND no plastic mini blinds for grabby little toddler hands to break.


Curtain rod with clips = less sewing (no pocket)


I originally just clipped the black-out fabric behind the fabric, but didn't like the way it looked when the curtain was open.  A little more sewing and now it's much better.


I wasn't sure how well the black-out fabric would hang, but it's not too bad.


And adding some more pink into the originally gender neutral nursery is always a plus.


Thank you Sherry from Young House Love for the inspiration to extend nap time!


Tuesday, February 7, 2012

Easy Peasy Hair Clips

This was my first guest post that was featured over at RoCa and Company over the summer.  Thought it would be nice to share it here too!

~ ~ ~

I have an easy peasy tutorial for you today on making hair clips for all the little girls in your life.  (These make great gifts if you don't have girls of your own!) I get a lot of inspiration from from lovely bloggers in blogland (like Carmen!) so you'll probably see some ideas that you've elsewhere spotted before.

Let's get started making some Easy Peasy Hair Clips!

Here are the supplies you'll need:
- alligator clips (mine are single prong and 1-3/4" long  *I bought a pack of 50 on eBay.)
- glue gun
- ribbon (grosgrain or something woven so it stays in the child's hair)
- candle

First we will cover the metal clip with ribbon.  If you are using alligator clips like mine, cut your ribbon a smidgen over 7 inches long.  You'll see why in a second.  If you have a different size clip, wrap some ribbon around the clip starting on the inside to see how much you need.  I have ribbon 1 cm wide and some 3/4 inch wide.  Both will work for this.


Next you need to do something to the ends so the ribbon doesn't fray (that would be a bummer after you spent all that time making adorable clips.)  You could use Fray Check or something similar or burn the edges like I did.  Since I'm making a bunch of clips, I'll burn the edges all at once to save some time.  If you've never done this before it's SOOO easy!  Hold the ribbon 2-3 inches above the flame until the edges seal.  This is why it's nice to have the ribbon a smidgen longer in case you burn a tad too much.

The ribbon on the left has not been burned and the one on the right has been burned.

Now let's get that glue gun out!  

* I think the key to getting the ribbon as even as possible is to glue a little at a time.  It might seem tedious but it's worth it to make the clip look really good and even.

We will start on the inside off the bottom tong.  Put glue on part of the ribbon and insert inside the clip. Put the burned edge up against the spring part.  Put a tad more glue on the outside of the clip you just put ribbon on and fold the ribbon over.  Squeeze the ribbon together to even out the glue and make sure the edges line up.

Now we will glue the bottom part where you squeeze.  Just a little dab of glue. Make sure it's where you want it.

Now for the inside of the squeeze part (yup I'm pretty sure that's the real name).  Glue the inside of the bottom part, press the ribbon in with your finger, then do the inside of the top part.  Don't put glue on the spring part!!  You want it to open easily :)

Now for the top. A little glue on the squeeze part  and even out the ribbon with your fingers.  Then put glue down the rest of the ribbon and fold over the top tong.

Use your fingers to even anything out and pull off any glue strings and you're done!!

Once you get the hang of it, it goes pretty fast and you can glue up a bunch in no time!

Now let me show you what it looks like with the ribbon that's wider than the clip.

Make sure to press the ribbon together around the clip at each step. You want the edges glued together so it's really secure.

It's definitely a lot more glue than they small ribbon, but be careful you don't put too much so it's all oozing out the sides. *If it does start to ooze, don't worry.  Just pinch it off before it hardens too much.  Of course wait a second so you don't burn your fingers on hot glue.  Ouch!
You could stop here and you're done!!  
If you have fun ribbon, you might not want anymore embellishments!  
I kind of like the wide ribbon ones as they are.

For the plainer ribbon, I like to add things....bows, flowers, etc.  You can really get imaginative here!

Here's some easy embellishments you can try:

Simple little bow.

Deconstruct some silk flowers then glue them back together.

Use up some scraps and make a fabric flower! 
(For this one I did dig out a needle and thread to keep it together.)

With so many fabric flower tutes out there in blogland, you can really go crazy!

Here are a few other's I've made for various occasions.  For some of these, I used up scraps to match clothes I had already made for my daughter.

Now if you're making clips as a present, here are some ideas for presenting them to make them a little extra special. 
All you need is some card stock and fun scissors.
You could do something this...

Or this....

Or this...

If you leave a little space you can write a message to the recipient!

So what do you think? Easy peasy right?!?!


Tuesday, June 7, 2011

Giraffe Toy

This was part of my gift to a friend who is having her first baby soon.  
I was inspired by Make It and Love It.

I free-handed the giraffe (was worried it would look like a dinosaur), found some matching ribbon and used a fleece scarf for the back.  Nice and fuzzy for baby to touch.


I made the tail smaller than the tutorial and tied a knot.


Pair it with the other gifts (bib and burp cloth and crib sheet) and all ready for the baby shower!


Monday, June 6, 2011

Bib and Burp Cloth

I was so excited to make baby shower gifts for my friend! 
I had soooo many ideas, it took me a while to realize that I couldn't make them all. 
These are two of the ones I choose.

Sweet little bib for a sweet new baby.


I'm in love with pearl snaps!  I just had to add one!


The lining is pretty plain. 


I was really excited (maybe too excited) when I found white terry cloth at Hobby Lobby! 
(Maybe I've just never looked hard enough for stuff like that.)

So a matching burp cloth was in order!


I'm really happy with how it turned out!
These are great projects for using up scraps!


Tied up nice and ready to be gifted!


This is definitely a project I'll be making more of!

Saturday, April 23, 2011

Easter Dresses

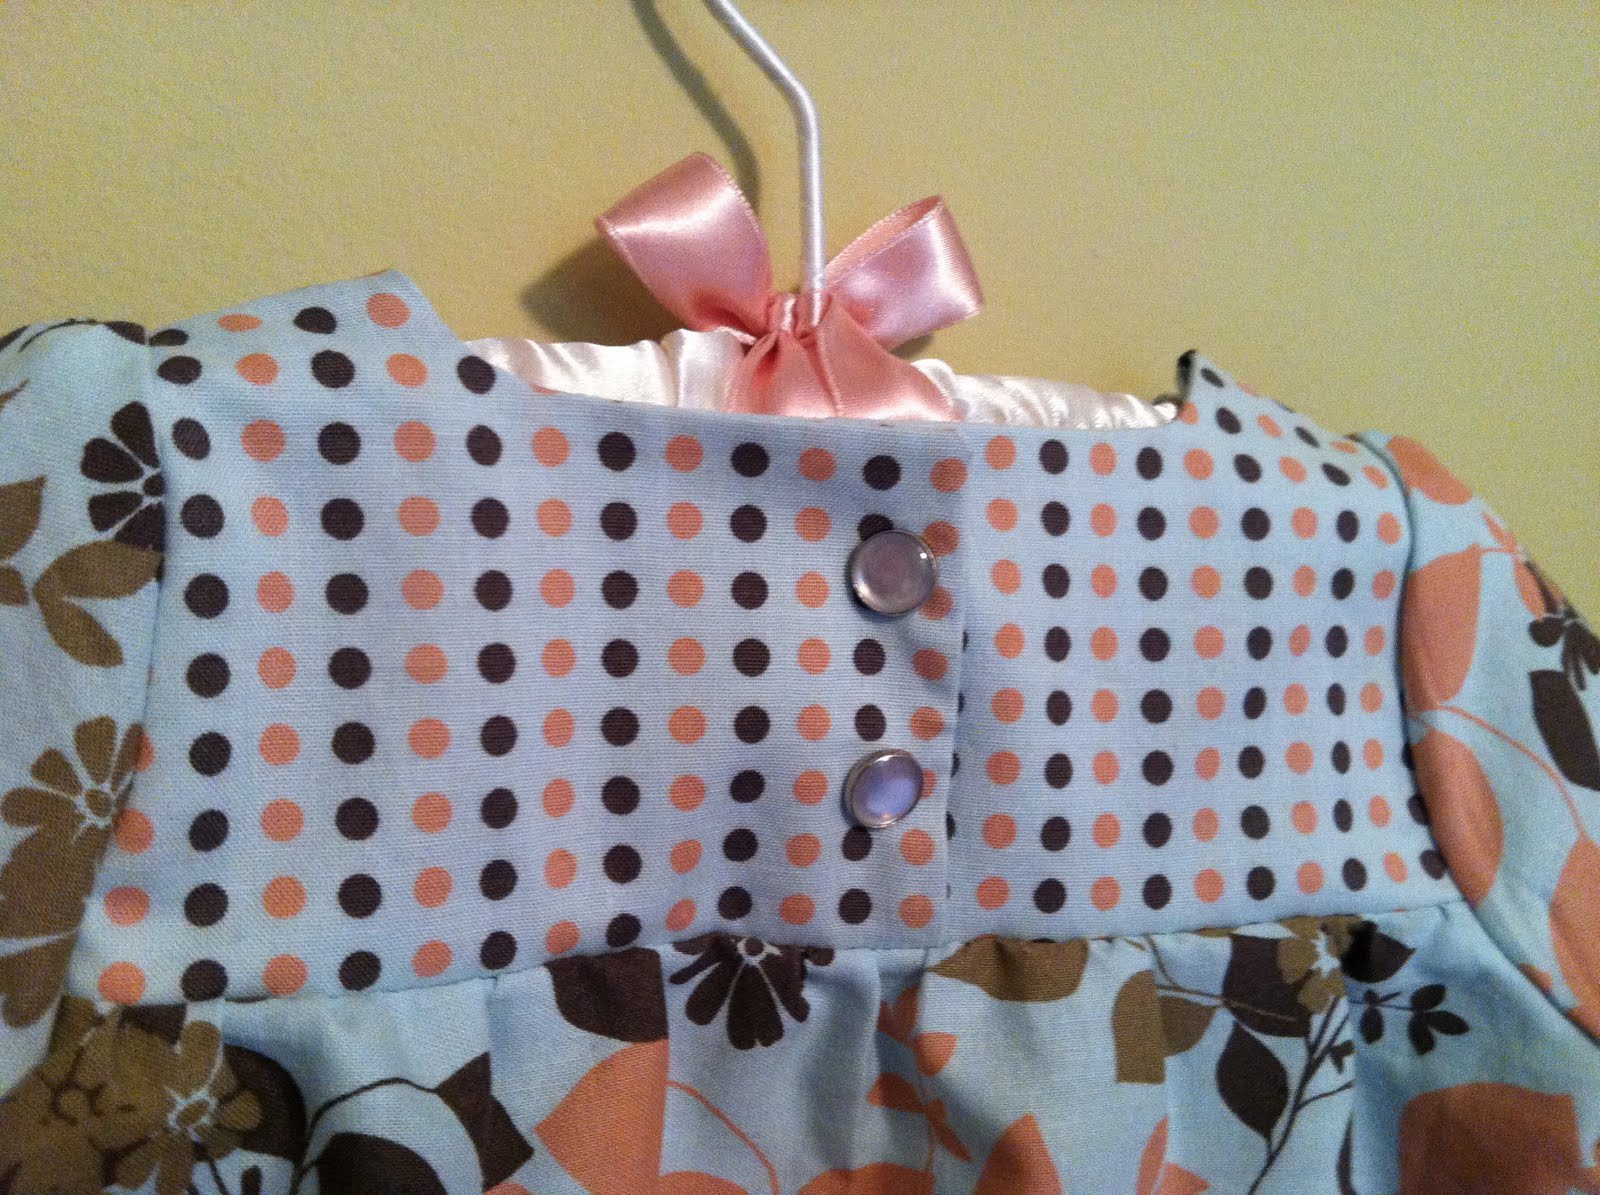
For Izzie's first Easter I couldn't wait to make her a little Easter Dress!

I've made an old t-shirt into a dress for her before (see it here) but never a dress from a pattern.

This is my version of Prudent Baby's Pretty Party Dress.

Those ladies sure do know how to make a.dor.a.ble patterns!

It was so easy to follow and the size is perfect for Izz who is almost a year old.

I'm also glad to say I only had to use 
my seam ripper for two very small sections.
This is progress for me....

I'm sooo excited for her to wear it!  
I LOVE this fabric I found at Hobby Lobby! 
(the dotted one was from the remnant bin - how great is that!?)


Not bad for my first attempt at baby clothes from a pattern, wouldn't you say?


Pretty impressed with my pearlized snaps, if I do say so myself.  
I had no idea it was so easy to add snaps!


Sorry for the mediocre pictures - couldn't find 
the battery charger for the camera so had to use my phone instead.

Ta Da! 


Now for myself, I have this white dress that I bought for my high school graduation, 
(which I'm now realizing was 10 years ago already! AHH!) 
that I like and have worn a few times but was starting to look dingy.


I like the detail of the fabric.  
Sort of an eyelet I guess you'd call it.  
But it needed some updating.


 So after half a bottle of Rit Liquid in Fuchsia . . . 

I have a New Dress!
A bit deeper/brighter fuchia than I was hoping for 
(I'm not really a pink sort of girl) 
but I kind of love it!

(This was my first attempt at dying anything too - kinda fun!)


White cardigan lessens the punch a little 
(and the dress is a little too low cut for church and family dinner.)


Plus I made this pin from a bouquet of silk flowers I had laying around.  
The center color is what inspired me to get fuchsia dye.


All ready for Easter!

Happy Easter!
He is Risen!

Related Posts Plugin for WordPress, Blogger...